Landscaping
How to Establish Moss on Bare Soil, Stone and Shaded Lawns
Most gardeners spend years trying to get rid of moss. Persuading it to grow where you actually want it is a different job, and a simpler one than the shelves of lawn-care products suggest. Moss has no roots, no need for feeding and no interest in rich soil. Give it shade, damp and time, and it will settle in on its own. What follows is how to help it colonise bare ground, paving, rockery stone and the thin, shaded corners of a lawn — without buying a kit.
What moss actually needs
Moss is not a small grass. It has no root system and no proper plumbing; it takes in water and dissolved minerals across its whole surface. That single fact explains most of what follows. Four conditions matter more than anything else:
- Regular moisture. Not standing water, but a surface that stays damp for much of the day.
- Shade or half-shade. North-facing ground, the strip along a wall, the shaded side of a hedge. Full sun dries moss faster than it can recover.
- Poor fertility. Rich soil grows grass, weeds and algae, all of which outcompete moss.
- A firm surface. Compacted earth, stone, brick and old timber all take moss well. Freshly dug, fluffy soil does not.
Mildly acidic conditions suit most species. Lime, wood ash and general fertiliser all push things the wrong way.
Preparation is most of the work
Most failed attempts come down to competition. If grass, bindweed or a mat of fallen leaves is sitting on the surface, moss has nowhere to go.
Clear the area before you think about moss. Cut or strim long growth and remove it rather than leaving it to rot down. Pull weeds by hand, getting as much root as you can, and rake off thatch, dead leaves and twiggy debris. Firm loose ground by treading or pressing with the back of a rake; soft, airy soil dries out and shifts.
Leave the cleared surface for a week or two, then hoe off anything that reappears. You will have a much cleaner start.
Establishing moss on bare soil
Bare, shaded soil is the easiest place to begin. Autumn and spring are the best windows — the ground is damp and evaporation is slow. Midsummer is a waste of effort.
- Clear and firm the ground as above, so the surface is level but not smooth as glass.
- Rough the top few millimetres with a rake or a fork; moss holds on to texture.
- Collect your moss from your own garden, or from a friend's with permission — never from a nature reserve, a wild site or an old wall where it may be slow to regrow. Take small patches and leave most of it behind.
- Either press the patches firmly onto the soil, trimming them to fit, or crumble them into pieces about the size of a pea and scatter them thinly.
- Water gently with rainwater if you can. Tap water tends to be alkaline and may contain chlorine; letting a can stand overnight helps a little.
- Keep the surface damp for six weeks. A light misting morning and evening in dry weather does more than one heavy soaking.
A slurry is another route, and a low-cost one. Put a couple of handfuls of moss in a blender with about two litres of water and blitz it to a thin, greenish liquid, then pour or paint it over the prepared ground. Plain water works fine. A spoonful of milk is traditional but can turn mouldy in warm weather, so skip it unless the forecast is cool.
Paving, rockery stone and walls
Stone holds less water than soil and heats up faster, so shade and aspect matter enormously. North- and west-facing surfaces colonise first; a sun-baked patio will always be a struggle.
On paving, clean the joints with a wire brush or an old screwdriver, brushing back to bare stone rather than digging deep. Work a little fine soil or sand into the gaps, press in crumbled moss, then water. Keep off the area while it establishes — young growth crushes easily. Species that naturally grow in cracks, such as silver-moss, will find these conditions themselves if you stop sweeping them out.
Rockery stone and low walls follow the same method: clear loose grit and dead algae, tuck crumbled moss into crevices, water it in. Keep stone damp rather than soaked, and choose surfaces you can reach with a watering can. One caution — wet moss is slippery, so think twice before encouraging it on steps, slopes or busy paths.
Thin, shaded lawns
Where grass already struggles under trees, the quickest way to get moss is to stop fighting for the grass. Mow the shaded patches slightly shorter and less often, stop feeding, and stop using lawn sand or iron-based moss killers. That alone shifts the balance within a season.
To speed things up, scarify the shaded area in spring to lift out thatch, scatter crumbled moss, and water through dry spells. Elsewhere, simply raising the mower height and leaving the ground under trees alone often lets a soft moss carpet form by itself, mixed with the surviving grass.
A moss lawn is a different surface from turf: soft and spongy, green through winter, brown and crisp in a dry summer. It recovers when the rain returns, but it will never look like a bowling green.
Watering, patience and the first year
New moss needs damp, not drenched. Keep the surface consistently moist for the first two months, then ease off as it thickens and holds its own. Rainwater from a butt is ideal, and in hot spells water in the evening so it has all night to soak in.
Keep leaves off in autumn. A layer of fallen foliage smothers more moss than drought does; knock it away with a soft rake rather than scrubbing at it.
Expect the first year to look patchy. Moss grows slowly, spreads in fragments, and often stops entirely in midsummer. By the second year a treated area usually reads as a carpet rather than a set of green spots.
Start small and let it spread
Pick one shaded patch of bare ground or a single paving joint and do that properly, rather than treating the whole garden at once. One square metre that stays damp and weed-free teaches you more than any amount of planning, and it will supply fragments for the next area. Keep the surface firm, keep the competition down, keep it damp, and the moss will do the rest in its own unhurried way.
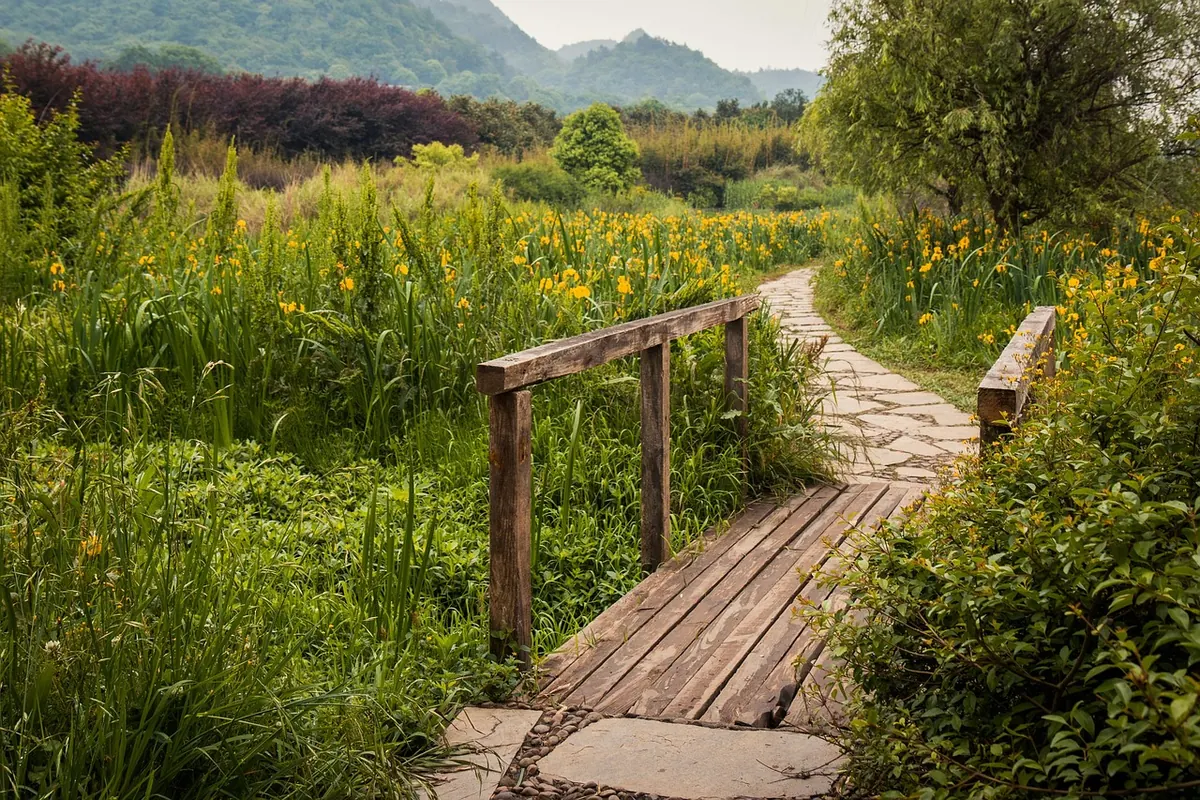
Photo: YangGuangWu / Pixabay