Supplies
Moss Gardening Starter Kit: The Only Supplies You Actually Need
Moss gardening has a way of starting small. A tray of cushion moss on a shaded windowsill, a patch creeping between paving slabs, and suddenly you are peering at substrate pH on a Tuesday night. The good news is that you need very little kit to begin. Most of what arrives in a "complete moss growing set" is filler: decorative pebbles, a sachet of fertiliser you should not use, and a handful of moss that costs more per gram than saffron. Here is what genuinely earns its place on the shelf, and what can wait until you know this is a long-term interest.
Start With the Moss, Not the Gear
Your first purchase should be living moss, not equipment. Two routes work. Buy nursery-grown moss from a specialist supplier, which gives you clean, identified material that transplants predictably. Or collect it yourself, responsibly.
If you collect, get the landowner's permission, and stay away from nature reserves, protected sites and anything designated for conservation. Never strip a single boulder or tree base where a patch is the only thing growing. Take small fragments from several places where moss is abundant, press the edges back afterwards, and keep a note of where each sample came from. Different species want different conditions, and the ones that match your garden will win over the ones that do not.
The Tools That Do the Actual Work
You can assemble the functional core of a moss kit for very little. Look for these in a garden centre, a hardware shop or your own shed:
- A fine-mist spray bottle. A coarse spray knocks moss loose and compacts the surface. A trigger mister with a fine, almost fog-like output is the single most useful thing you will own.
- A soft-bristled brush. An old paintbrush or a nylon pastry brush, kept for the garden, is perfect for cleaning moss and sweeping debris off a surface before planting.
- Tweezers or long chopsticks. For placing fragments smaller than a fingernail without squashing them.
- Sharp scissors or snips. For trimming and dividing established patches.
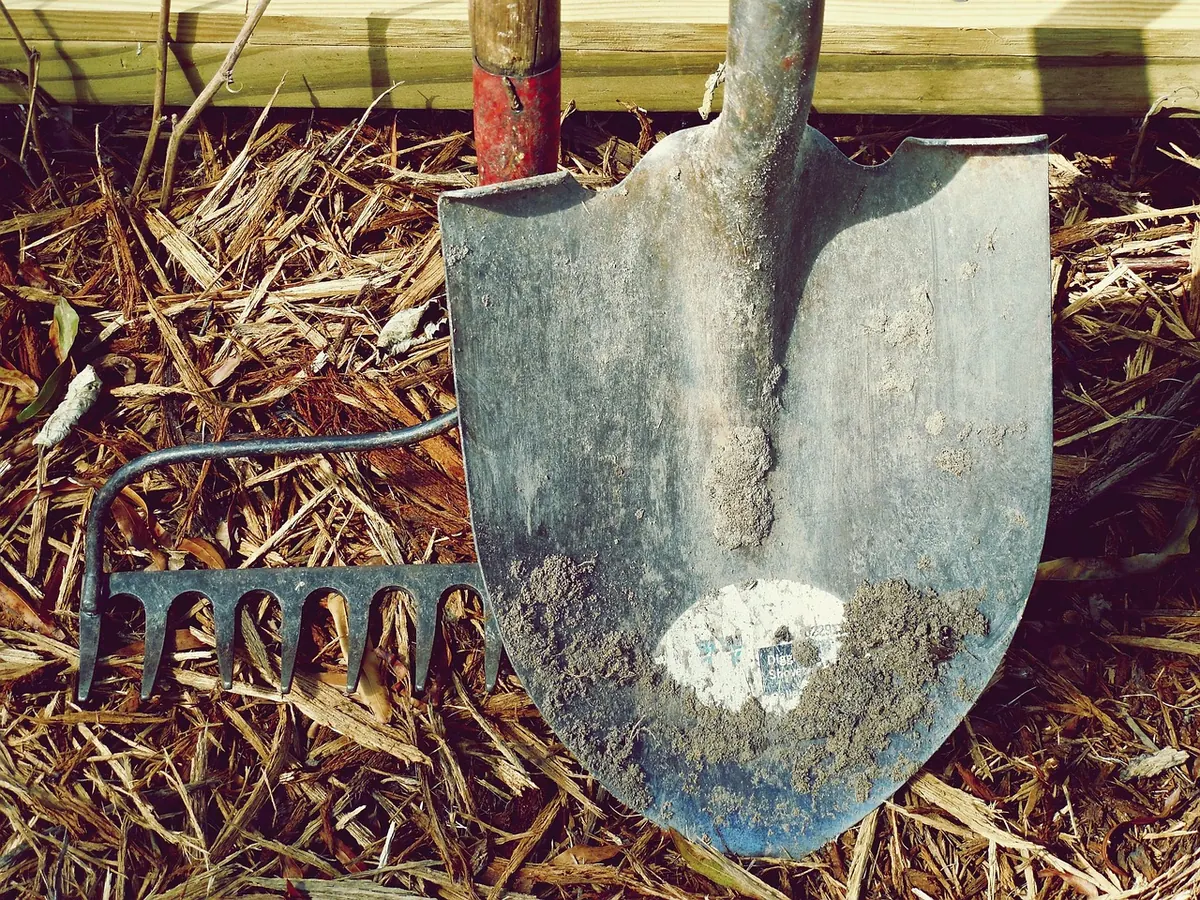
- A trowel, an old kitchen fork and a hand rake. The fork is surprisingly good for scratching a rough key into a surface.
- Shallow trays. Seed trays, gravel trays or clean plastic food containers, with drainage holes if they will sit outdoors.
- A clear cover. A plastic propagator lid, a clear storage box, or a sheet of plastic over a frame. New moss needs consistent humidity while it settles.
- Gloves, and a bucket or watering can with a fine rose. Rainwater collection starts here.
Nice to have, not needed on day one
A pH meter or soil test kit, a small hygrometer, shade netting, and plastic plant labels written in pencil. All are useful once you are managing several different patches, and all can be bought later.
Substrate: Lean, Firm and Rough
Moss has no true roots. It anchors itself with fine rhizoids and takes in water and nutrients across its surface, so rich potting compost works against you. It feeds competing plants, algae and mould, and the moss gets crowded out.
Instead, build a lean base. A layer of coarse grit, sand or a low-nutrient loam, topped with something fine and pressed firm, does the job. Sieved garden soil, sand, coir or a little leaf mould all work. The surface should be damp but not glistening, and it should have texture: moss grips rough, slightly acidic surfaces far better than smooth ones. Scratch walls, stones and concrete with a wire brush or the edge of a trowel before you plant.
For sloped surfaces and vertical cracks, make a slurry by blending small moss fragments with water into a thin paste and painting or pouring it on. You will see buttermilk recommended as an additive. It is a traditional trick, but dairy can turn sour, smell and encourage mould, particularly indoors. Plain water gives the fragments something to hold on to without the side order of fungus.
Water, Light and Air
Water quality matters more than you think
Rainwater is the best choice and costs nothing but a container. Tap water is fine in many soft-water areas, but chlorine and hardness cause problems over time. Chlorine will dissipate if you leave a bucket standing overnight; chloramine, used by some water companies, will not. Hard water leaves pale deposits on moss tips that build up slowly and look like scorch. Avoid softened water entirely, as the sodium content is harmful.
Light and airflow
Most mosses want bright, indirect light: dappled shade under a tree, a north-facing wall, a shaded corner of a patio. Full summer sun will dry and bleach them. Air should move, but gently. A still, sealed container grows mould; a windy ledge dries everything within a day. Aim for the middle, and check your moss every morning for the first fortnight.
What You Can Safely Skip
- Specialist moss fertiliser or general plant food. Moss evolved in low-nutrient conditions. Feeding it mostly feeds the weeds, algae and liverworts you do not want.
- Automatic misting systems. Learn the rhythm by hand first. You will waste water, soak your windowsill, and still not understand why one patch thrives and another sulks.
- Grow lights. Only worth considering if you are keeping moss indoors in a genuinely dark room.
- Peat-based compost. Unnecessary for moss and a poor choice environmentally.
- Bargain bags of unidentified moss from auction sites. The condition is often poor, and you will not know what conditions it needs.
- Decorative kits with painted stones and figurines. Buy them later if you like them. They add nothing to the growing.
Your Actual Starter Kit
If you want a shopping list you can act on today, it looks like this:
- Living moss from a reputable supplier, or permission and a collecting bag.
- A fine-mist spray bottle.
- A soft brush, tweezers or chopsticks, and scissors.
- Two or three shallow trays with drainage.
- A lean substrate: grit or sand plus a fine top layer.
- A clear cover for humidity.
- A rainwater butt, bucket or can with a fine rose.
- Gloves and a pencil for labels.
Everything beyond that is optional, and most of it is better bought once you have a specific problem to solve.
Putting the Kit to Work in the First Month
Plant your moss by pressing it firmly onto the damp surface so the base makes full contact. Mist it, cover it, and keep it out of direct sun for two to three weeks. Check daily, mist when the surface loses its sheen, and lift the cover for an hour or so if condensation is heavy. Do not panic if patches brown at the edges; stress is normal after moving, and new growth usually appears along the tips and edges within a few weeks. Pull out any weeds while they are tiny, before they shade the moss.
After a month, you will know far more about your own conditions than any kit list can tell you: which corner stays damp, which tray dries first, which species is quietly taking over. That knowledge is the real starter kit, and it is free.
Photo: Pexels / Pixabay